Journal / Wedding Bridal
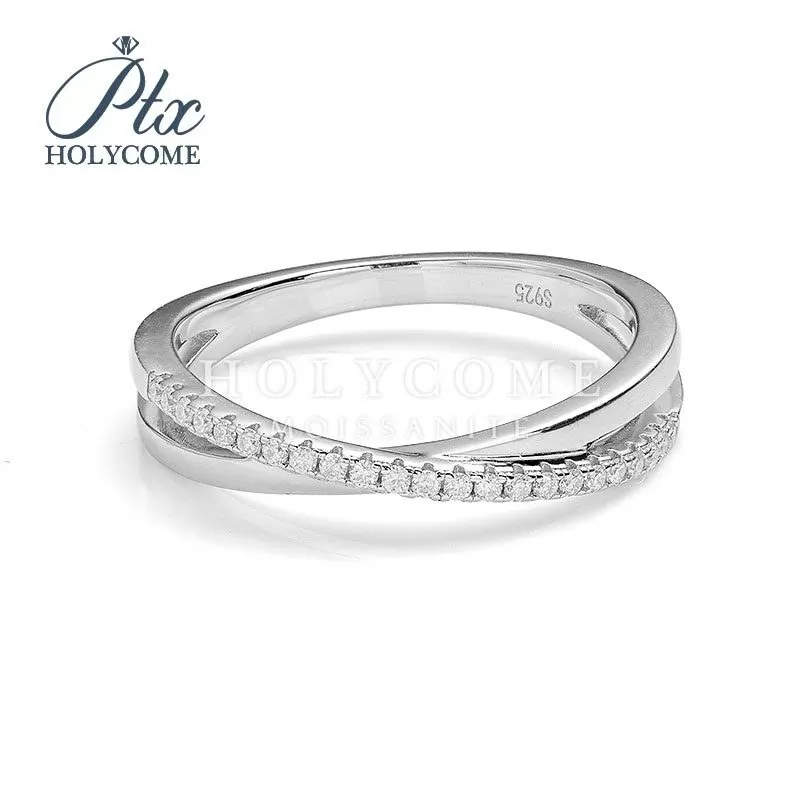
Bridal Set Fit Tolerance and CAD Locks
A buyer in Toronto ordered an engagement ring and a matching band as two separate files from two suppliers. Both were correct against their own drawings. Together they left a 0.7 mm gap at the base and the halo edge caught on the band whenever the customer closed her hand.
The pair failed because no single drawing described the relationship between the two rings. Fit is a property of the pair, and it has to be specified as one.
[1]What "fit" means on a bridal set
Fit has three components: the gap at the base, the contact along the shank, and the clearance between the band and whatever projects from the engagement ring.
Gap at the base
A small gap is normal and often desirable, because two rings sitting in direct contact wear against each other. A gap of 0.1 to 0.3 mm at the base keeps the pair from rubbing while still reading as flush from the top.
Above 0.5 mm the gap becomes visible from the side, and that is the failure the Toronto buyer saw.
Contact along the shank
Where the rings touch, the contact should be along a short arc rather than a line, and both rings should share the same interior profile. A comfort-fit engagement ring against a flat band contacts on one edge and rocks.
Clearance at the setting
The band has to clear the lowest projecting part of the setting, which is usually the gallery or the side stone's girdle rather than the centre stone. This is the dimension that a contour is cut to satisfy.
[2]Why two drawings produce a bad pair
Each drawing is dimensioned from its own centre line. Neither carries the other ring's geometry, so neither can guarantee the gap. When the two are cast and finished, the accumulated tolerance from both lands in the gap.
The fix is a shared reference: one file that contains both rings in their worn position, with the gap dimensioned once and the contour cut to the engagement ring's actual profile.
[3]How we lock a set in CAD
Three steps, and they happen before either ring is cast.
| Step | What happens | Output |
|---|---|---|
| Shared assembly | Both rings modelled in worn position | One file with a single gap dimension |
| Contour cut | Band cut to the engagement ring profile | Contour drawing per setting |
| Resin trial | Both models printed and worn together | Fit confirmation before casting |
The resin trial is the step buyers skip and the one that catches the failure the drawings cannot. Two rings on a screen always look flush; two rings on a hand sometimes do not.
What the drawing must state
The gap at the base, the interior profile of both rings, the contour depth and the clearance at the lowest projecting point. Four dimensions, all on one sheet, and all referenced to the worn position rather than to each ring's centre line.
[4]Where fit fails in production
Even a correct drawing can produce a bad pair if the casting tolerance is not controlled. Three failures dominate.
- Contour depth cut to nominal rather than to the actual cast profile
- Band cast in a different metal lot, changing shrinkage
- Finishing after contouring, which removes 0.05 to 0.1 mm from the contact surface
The third is the one that surprises buyers, because polishing happens after the contour is cut and it changes the fit. A pair that was flush before polishing can be loose after it, which is why final fit is checked after finishing rather than before.
[5]What happens when the pair is ordered separately
Buyers order the band later for three reasons: the engagement ring is already in production, the customer has not decided on a band, or the band is sourced from a different supplier. Each reason creates a measurement problem rather than a design problem.
If the engagement ring exists as a finished piece, the band can be cut to it, and that is a bench measurement of the real profile. If it exists only as a file, the band can be cut to the file, and the fit depends on the casting matching the file, which is the assumption that fails when two shops cast separately.
Measuring a finished ring
A profile gauge pressed against the setting records the depth and span in one pass, and a caliper records the shank width. Those three numbers are enough to cut a contour, and they take about ten minutes at the bench.
What cannot be recovered
The interior profile of the engagement ring. If it was made comfort-fit and the band is flat, the pair will contact on one edge and the fit will feel loose regardless of how well the contour is cut.
[6]Resizing a locked set
A set built as one assembly is still two rings, and each resizes on its own terms. The constraint is that resizing one changes the fit, so the pair should be resized together or the gap re-checked after either ring changes size.
A one-size adjustment on both rings usually preserves the fit. A two-size adjustment on one ring alone can open the gap at the base by 0.3 mm or more, which is enough to be visible from the side.
| Change | Effect on fit | Action |
|---|---|---|
| Both rings one size | Minimal | Re-check after finishing |
| One ring one size | Gap may open | Re-check and adjust contour |
| One ring two sizes | Visible gap likely | Re-cut the contour |
| Eternity band resize | Requires re-setting | Quote as a rebuild |
[7]What the customer sees
Buyers running a set across a size range should build the pair at the smallest and largest sizes in the range before casting the run. A contour that fits at size 6 can contact the setting at size 9, because the ring's geometry changes with size even when the design does not.
That check costs two resin prints and it prevents a size-specific failure that would otherwise appear in a fraction of the order and be hard to attribute afterwards.
Customers judge a bridal set from the top, from the side and in the hand. From the top, a small gap is invisible. From the side, a 0.5 mm gap is obvious. In the hand, a band that does not clear the setting catches on clothing and on the finger.
All three views should be checked on the resin trial, because each one reveals a different failure. A pair that passes from the top can still catch in the hand, and a pair that feels fine can show a gap in a side photograph that ends up on the product page.
[8]Cost
A locked set costs a CAD assembly round and a contour cut per engagement ring design. On a 50 piece order the assembly round is a fixed charge, and the contour is per design rather than per piece. Buyers who order the band later pay the assembly round again plus a separate sample, which is usually more than the original saving.
[9]What we do on set orders
We model both rings in one file, dimension the gap once, cut the contour to the engagement ring's actual profile and print a resin pair for fit confirmation. The pair is checked after finishing, not before, so the fit the customer receives is the fit that was approved.
Minimum order is 50 pieces per design with mixed sizes allowed. Sample lead time is around 20 days from approved CAD, bulk 25 to 30 days, and stock designs ship in 15 to 20 days under 500 pieces. Payment is a 30 percent deposit with the balance before shipment, by T/T, PayPal or Western Union, with volume steps at 200 and 500 pieces.
[10]Frequently Asked Questions
How much gap is acceptable at the base?
0.1 to 0.3 mm. Below 0.1 the rings rub and wear each other; above 0.5 the gap is visible from the side and reads as a mismatch.
Can I add a band to an existing engagement ring?
Yes, but the contour has to be cut to that ring's real profile, which means measuring the finished piece rather than using the original CAD. That measurement is a bench task, not a file task.
Does the metal have to match for the fit to work?
No, but it affects shrinkage. Two metals cast separately shrink differently, so the contour depth should be set for the metal each ring is actually made in.
Will polishing change the fit?
Yes, by 0.05 to 0.1 mm on the contact surfaces. That is why final fit is verified after finishing, and why a pair that was tight in the white can be correct in the finished metal.
[11]Next step
Send the engagement ring file or its measured profile, and we will build the pair as one assembly with the gap dimensioned once. See interlocking designs in the archive, read the journal on band pairing, or open a set brief on the contact page.